11.17.2012

Baked Macaroni & Cheese

When I went gluten-free, I had nightmares about never being able to eat my mother's baked macaroni and cheese again. No, seriously.


This dish has been - hands down - my all-time favorite meal for pretty much my whole life. When I moved out on my own, I immediately asked for the recipe, which I think my mother got off of a macaroni box many years ago. It was usually the first (and sometimes only) meal I would make for boyfriends or even just my friends for special occasions. I remember making this mac & cheese in the kitchen of my college dorm when I was away at school. Mom has been making this for as long as I can remember. And now, I make it too.


The recipe has been tweaked a bit over the years - to make it a bit healthier. Now it has been tweaked to be completely gluten-free! It still retains all of its original charm and deliciousness, trust me. Even my husband approved! The hardest lesson I had to learn was not to over bake it. A lesson that only had to be learned once. When cooked right, this dish will maintain the consistency of a stovetop mac and cheese straight out of the oven. It should not be dry...eww.


This recipe uses a simple roux - don't be afraid! And uses regular old store bought gluten-free macaroni and gluten-free flour as the thickener. I also use light butter, lower fat cheese and fat-free milk, but you could certainly use regular fat cheese and whatever type of milk you want. I've even made this recipe in a pinch with arrowroot starch as the thickener and almond milk - so this recipe can easily be made dairy-free with soy cheese if you please.


The cracker crumbs on top really make this dish special. 
Do not give me mac and cheese topped with breadcrumbs. 
Yuck.
In addition, do not give me mac and cheese made with orange cheese - save that for the boxed stuff. Whoever decided that cheddar cheese needed to be orange was simply insane. I only use the sharpest white cheddar I can find. It gives the best flavor.

My mom always used Ritz crackers - full of buttery deliciousness. Unfortunately, Ritz has not hopped aboard the gluten-free train yet. Shame really. So, this time around I used Glutino Original Gluten-free Crackers (the Multigrain or Cheddar ones would work nicely too). They're not Ritz...but they'll work for now!

Feel free to reheat any leftovers in a small saucepan on the stovetop - don't forget to add a little bit of extra milk to loosen it back up. Delish.


Baked Macaroni & Cheese

Prep Time: 10 minutes

Cook Time: 45 minutes

Yield: 6-8 servings

  • 2 cups Gluten-free Elbow Macaroni, uncooked
  • 1/4 cup Light Stick Butter
  • 1/2 tsp Salt
  • 1/4 tsp Black Pepper
  • 1/4 cup Gluten-free Flour
  • 2 cups Skim Milk
  • 1/2 cup Half & Half
  • 10 oz. Sharp Cheddar Cheese, shredded
    • Reserve 1/4 cup and set aside
Topping:
  • 20 Gluten-free Crackers, crushed
  • 3 Tbsp Light Stick Butter, melted

  1. Preheat oven to 375°F. Lightly grease or spray a 2-quart casserole dish and set aside.
  2. Cook macaroni according to package directions, less one minute - this is important, the macaroni will finish cooking in the oven! Drain, rinse, and set aside.
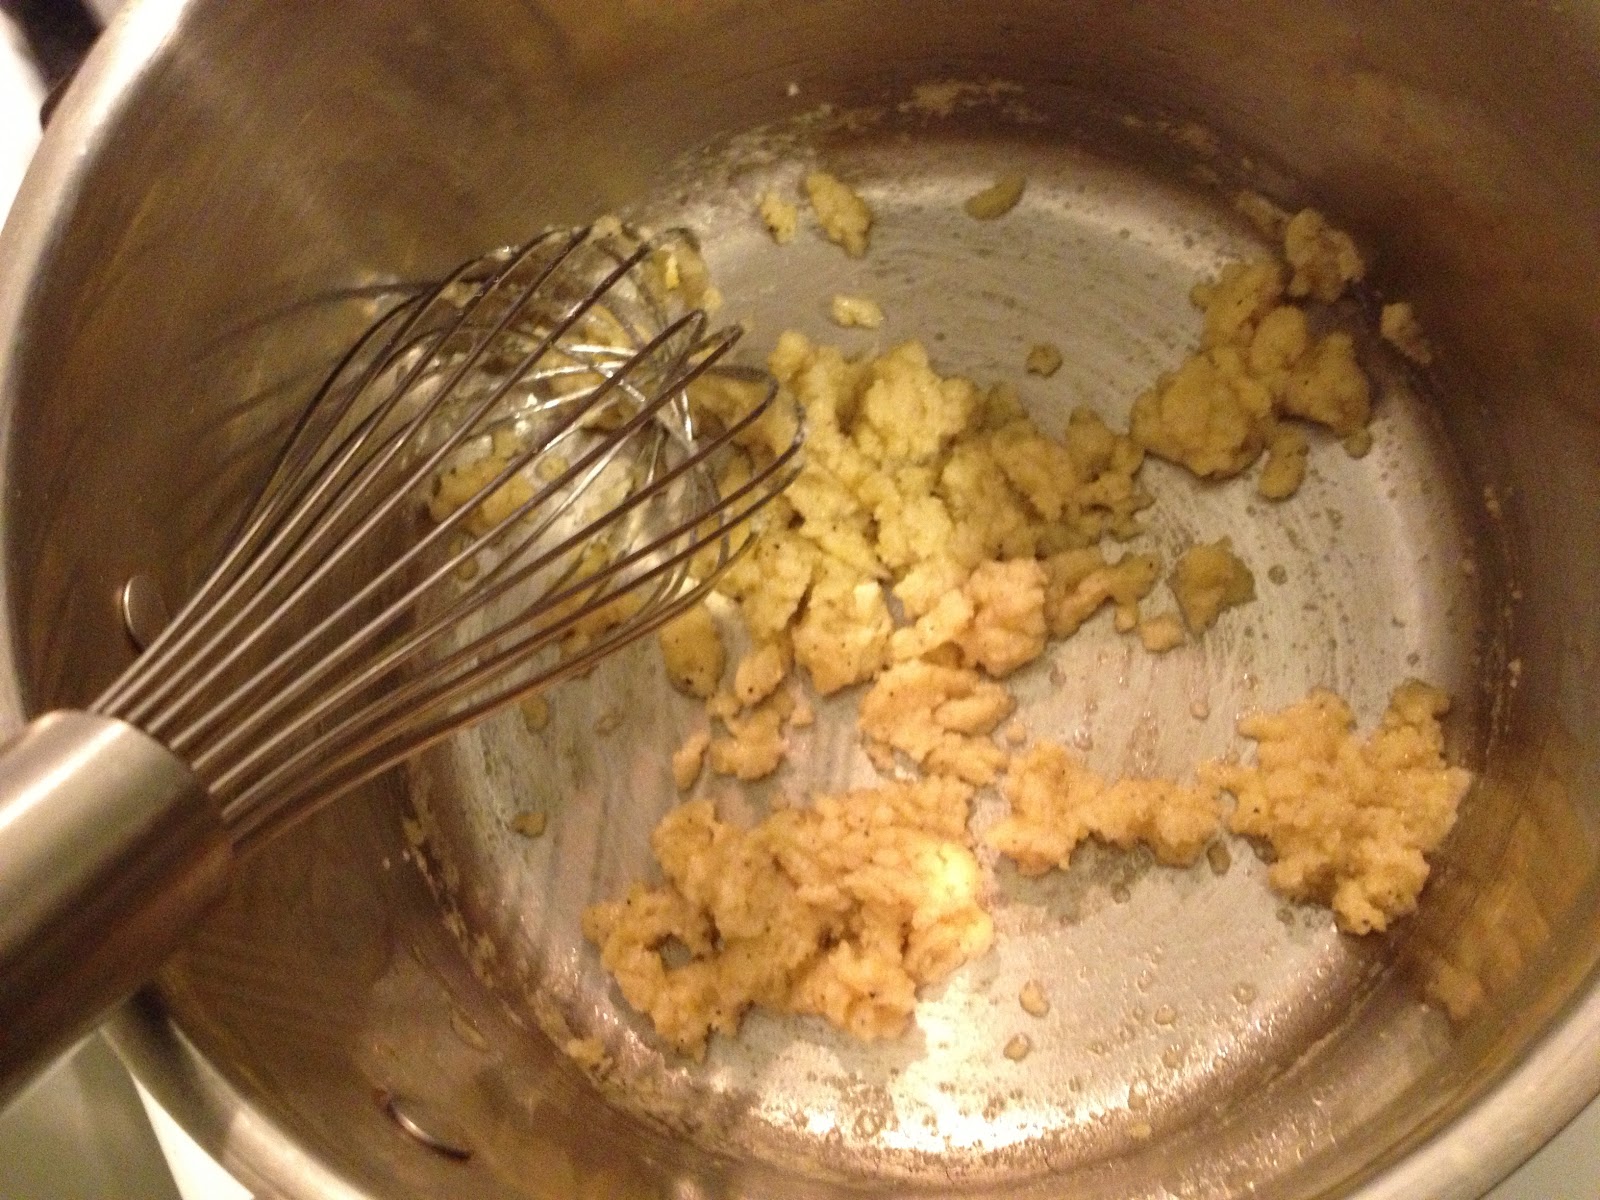
  3. In a medium saucepan, melt the butter over medium-low heat. Once melted completely, blend in salt, pepper, and flour - whisk quickly, it will form a light roux, or paste. Slowly add milk and half & half while continuing to stir constantly. Bring the mixture to a boil and stir for one minute; remove from heat.
  4. Stir in the shredded cheese until melted and slightly thickened. Add the cooked macaroni and fold in to combine.
  5. Pour half the macaroni mixture into the casserole dish and top with half of the reserved cheese. Repeat with remaining mixture and cheese.
  6. Combine the cracker crumbs and melted butter until well coated. Sprinkle along the edges of the casserole (see pictures above).
  7. Bake for 25-30 minutes until casserole is bubbly around the edges and cracker topping has browned nicely.
Nutrition per Serving (Based on 7 servings): 324 Calories; 15g Fat; 9g Saturated Fat; 35g Carbohydrate; 2g Fiber; 14g Protein

Mmmm....comfort food.


Happy gluten-free cooking!


11.14.2012

Cran-Apple Crumble Pie

Confession: I like pie.


But really...who doesn't? Growing up, my Great Uncle was obsessed with my mother's baking. Throughout the year, if we went to visit, we were usually bringing a pie...or two, or three. Coconut custard, pumpkin, apple - you name it. She always made her own pie crusts, even when those rolled up pre-made ones could be readily found in the chilled section of the supermarket. When I was in high school, I decided I was no longer a fan of Birthday Cake. So instead, I requested Birthday Pie every year.


I was having a bit of a crisis when I realized I might not be able to make or even enjoy pie for Thanksgiving dinner this year. Pumpkin...apple...pecan...Mmmmmmm delish! I tried to make a pie when I first started cooking gluten-free. I found a gluten-free pie crust recipe online and thought I'd give it a go. I wanted to make my grandmother-in-law's famous Sweet Rhubarb Pie (perhaps I'll post that recipe another time...). Let's just say it was a bit of an EPIC FAIL. The dough got too tough and stuck like crazy to my Pyrex pie plate. All I kept hearing all day was, "Well - it tastes really good!" 

Which is essentially code for, "Nice try, but you failed!"


Needless to say, I had been too nervous to try again. Until now. A couple months ago, my husband and I were invited to a Scotch tasting party at a friends house. The wife of the couple went to culinary school and had prepared some delicious appetizers to go along with said Scotch. She knew that I was gluten-free and had made her mini quiches with a gluten-free crust. 

I had died and gone to heaven. They were incredible - flaky, tender, everything a pie crust should be. And gluten-free to boot! I just had to have that recipe. She wrote down the list of ingredients with their measurements on an index card and tucked it into my purse before I left.


She used store-bought King Arthur Gluten Free Multi-Purpose Flour blend for her crust. I make my own flour blend that I use for the majority of my baked goods. This basic blend, developed by Gluten Free Girl and the Chef, can be found here on their blog: Gluten Free Flour Blend. (P.S. you have to scroll down a bit to find it, and those rhubarb muffins? Try them!!) The only gluten-free blend I do not recommend is Bob's Red Mill. Don't get me wrong, I love Bob's products, in fact I use quite a few of them in my kitchen. However, their all-purpose mix contains garbanzo bean flour, and there's something off about the taste when used in sweet baked goods. That's also the flour I used in my initial pie baking attempt, so call it a gut feeling.


This Cran-Apple Crumble Pie was a total hit. If I hadn't told the guests it was gluten-free, they swear they never would have known. My best friend even asked for the recipe to have on hand when her gluten-free cousin comes to visit! This pie is a great addition to a holiday table - not too sweet with just a hint of tartness from the cranberries. You can certainly add more nuts to the topping in place of the oats, or more oats if you cannot have nuts.

I now have a fail-proof gluten-free pie crust recipe - and I'm sharing it with you! (Should come in handy for all the frozen blackberries and rhubarb that are still buried in my chest freezer from last Spring.....) 

Disclaimer: Please make sure to read this recipe thoroughly prior to starting. The dough needs at least one hour to chill out in the fridge before you use it. It's also much easier if you have all your ingredients out, prepped, and ready to go, as this recipe has a lot of parts and steps.


Cran-Apple Crumble Pie

Prep Time: 1 1/2 hours (additional time to chill dough)

Cook Time: 1 1/2 hours

Yields: 8 generous servings


For the Dough:
  • 1 cup Gluten-free Flour
  • 1 tsp Salt
  • 1 tsp Xanthan Gum
  • 1 Tbsp Sugar
  • 6 Tbsp Light Butter (stick - try Land O'Lakes)
  • 1 Egg, large
  • Cold Water, as needed

For the Crumble:
  • 3/4 cup Gluten-free Flour
  • 1/4 cup Dark Brown Sugar, packed
  • 1/2 tsp Apple Pie Spice (see note at bottom to make your own!)
  • 1/8 tsp Salt
  • 4 Tbsp Light Butter, cut into 1/2-inch pieces
  • 1/4 cup Pecans, roughly chopped
  • 1/3 cup Old-fashioned Oats

For the Filling:
  • 2 1/2 pounds firm Apples - peeled, cored, and thinly sliced (I recommend Honeycrisp)
  • 6 oz. Cranberries, fresh or frozen (not thawed)
  • 2/3 cup Dark Brown Sugar, packed
  • 3 1/2 Tbsp Gluten-free Flour
  • 1 tsp Apple Pie Spice
  • 1/4 tsp Salt
  • 3 Tbsp Lemon Juice
  • 3 Tbsp Light Butter, cut into 1/2-inch pieces

Spray a 9 or 10-inch pie plate with cooking spray and set aside.

Make Pie Dough:
  1. In the bowl of a food processor, place flour, salt, sugar, and xanthan gum; pulse to combine.
  2. Add butter chunks to mixture, making sure to space out evenly around the bowl. Pulse until mixture resembles small pebbles and butter is well distributed.
  3. Add egg and process until combined. The dough will not look or behave like traditional pie dough - it will look more like a thick batter that is spread all over the bowl. If dough is too dry and crumbly, add cold water 1 Tbsp at a time until dough comes together. DO NOT add too much water! Dough will be slightly stickier than a traditional pie crust dough made with regular flour. Resist the urge to add more flour!
  4. Remove contents of bowl and form the dough into a disk. Wrap in wax paper or plastic wrap and place in the fridge for at least one hour, or until ready to use.
Make Crumble Topping:
  1. Stir together flour, brown sugar, apple pie spice, and salt in a medium bowl.
  2. Add butter chunks and blend with a fork or pastry cutter into mixture resembles small pebbles.
  3. Stir in pecans and oats until combined; chill in fridge until ready to use.
Make Filling:
  1. Stir together apples, cranberries, brown sugar, flour, apple pie spice, salt, and lemon juice in a large bowl; set aside until ready to use.
Putting it All Together...
  1. Preheat oven to 425°F with rack in the lower third of the oven.
  2. Lightly flour your countertop or baking mat. With a lightly floured rolling pin, roll out the pie dough to fit your pie plate (about a 13-inch round). Fit dough into plate and cut back edges to 1/2-inch. Crimp edges with fingers.
  3. Pour the fruit filling carefully into the prepared pie crust. Dot with remaining chunks of butter and cover loosely with aluminum foil.
  4. Place in oven (on a cookie sheet if you wish, just in case the liquid bubbles over) and bake until apples begin to "droop" or settle - about 45 minutes.
  5. Remove pie from oven and reduce temperature to 375°F. Remove foil and sprinkle crumble topping over fruit. Bake, uncovered, until topping has browned and filling is bubbling around the edges - another 30-35 minutes. Check occasionally to ensure crust is not getting too brown.
  6. Allow pie to cool completely for 2-3 hours prior to serving.
*Recipe adapted from Epicurious*
~ Notes:
  • For homemade Apple Pie Spice, combine: 2 tsp ground Cinnamon, 1 tsp ground Nutmeg, 1/2 tsp ground Allspice, and 1/2 tsp ground Cardamom; store in an airtight container.
  • Pie dough can be made up to 3 days in advance; store in fridge until ready to use.
  • Pie can be made 1 day in advance and kept at room temperature, loosely covered, until ready to serve.


Happy gluten-free baking!


11.06.2012

Homemade Applesauce with Sugar & Spice Compound Butter

Some foods just scream "Fall!"


Yep, we're making applesauce.


A few weeks ago, my husband and I ventured out into the beautiful crisp autumn air and drove to our favorite apple orchard. A friend had previously mentioned to me that there were no longer apples to be picked from the trees. That, however, did not phase me. I actually laughed - only people who want to eat apples fresh need to pick them off of trees! 


I go for the bags of drops they keep tucked away in cooled bins in the back of the store. Why? 

  1. They're cheap
  2. I'm only going to destroy them anyway, they don't need to look pretty
  3. Did I mention that they're cheap?
Needless to say, we ended up with about 30 or 40 pounds of apples. Yes. That is about the same weight as a small child. What can I say? We like our applesauce in this house. I usually make enough to last all year, then bury those bags of chunky liquid gold in the bottom of the chest freezer. We usually heat it up and eat it straight out of a coffee mug. But I also use my homemade applesauce in baking recipes - it is unsweetened after all!

I actually just defrosted the final jar from last year's stash. It had been in hiding.


This recipe is so stupid-easy, you're going to kick yourself for ever buying applesauce in a jar from the grocery store. Here's a question for you... How on earth do they get jarred applesauce to be so light in color? A magical mystical feat of processing I will never understand. My applesauce is brown. My husband's grandmother - hers is red, because she leaves the skins on. I just can't get over the color, so I peel my apples. C'est la vie!


When my sister and I were kids we would make applesauce with my Aunt Carole. She had one of those old apple peelers that you clamped to the kitchen counter with a vise. We would help her peel and chop, then she would simmer those apples into oblivion on the stove-top. Afterwards, she would run it all through a food mill to get it nice and smooth. And then... Then she would make something she called "Butter Cream" to put on top. It was sweetened butter that, when placed on top of warm applesauce, would melt into creamy, sugary, blissful deliciousness.

I'm drooling just thinking about this right now.


My aunt's version took all day, and it was worth every ounce of love and energy we put into it. Mine also takes a few hours - but I let my slow cooker do the work. Who doesn't love that? I've also modified the butter cream recipe, just a tweak. 

And I promise, your house will smell divine!

Homemade Slow Cooker Applesauce

Prep Time: 30 minutes
Cook Time: 4 hours
Yields: About 3 1/2 quarts
  • 7 lbs Sweet Cooking Apples (I like McIntosh for sauce - if you'd like to know more about which apples serve what purpose, here's a great guide: All About Apples)
  • 2/3 cup Water
  • 1/2 tsp Apple Pie Spice
  1. Peel, core and chop apples. Try slicing off the top and bottom of your apples prior to peeling - it makes peeling go much faster! If you use an apple corer, just make sure to get any leftover bits of core with a paring knife before tossing those puppies into your slow cooker.
  2. Places all apple pieces and water into the bowl of a 6-quart slow cooker and set to "High".
  3. Check after one hour. If mixture has begun to bubble or foam up around the edges, give it a good stir and lower the heat setting to "Low". If it hasn't started to bubble yet, check every 30 minutes until it has, then follow above directions.
  4. Stir in apple pie spice.
  5. Continue to cook on "Low" for three hours or until apples have broken down and reduced to about 1/2 of original volume; stirring occasionally.
Nutrition per 1/2 cup Serving: 54 Calories; 0g Fat; 0g Saturated Fat; 14g Carbohydrate; 1g Fiber; 0g Protein

~ Notes:
  • This applesauce will be chunky! If you'd prefer a smoother sauce, feel free to run the entire mixture through a food mill after it has finished cooking and has cooled enough to handle without burning yourself.
  • If you'd prefer not to peel your apples, that is entirely your decision - it should still cook down just fine, but it might need to be processed further after cooking (i.e. food mill, food processor, or blender).

Sugar & Spice Compound Butter

Yields: 1/2 cup

  • 1/2 cup Light Butter
  • 1/4 tsp Apple Pie Spice
  • 4 tsp Brown Sugar, packed
  1. Combine all ingredients in a bowl; beat with a mixer until creamed together and smooth.
  2. Melt atop warm applesauce and enjoy thoroughly.
Nutrition per 1/2 Tbsp Serving: 29 Calories; 3g Fat; 2g Saturated Fat; 1g Carbohydrate; 0g Fiber; 0g Protein

Trust me - try this recipe...and thank me later!


Happy gluten-free cooking!